Process
Tech pack in, approved 3D sample out
Nothing here is proprietary magic. It is the discipline of a physical sampling room, run in 3D — which is exactly why the output holds up when a technologist checks it.
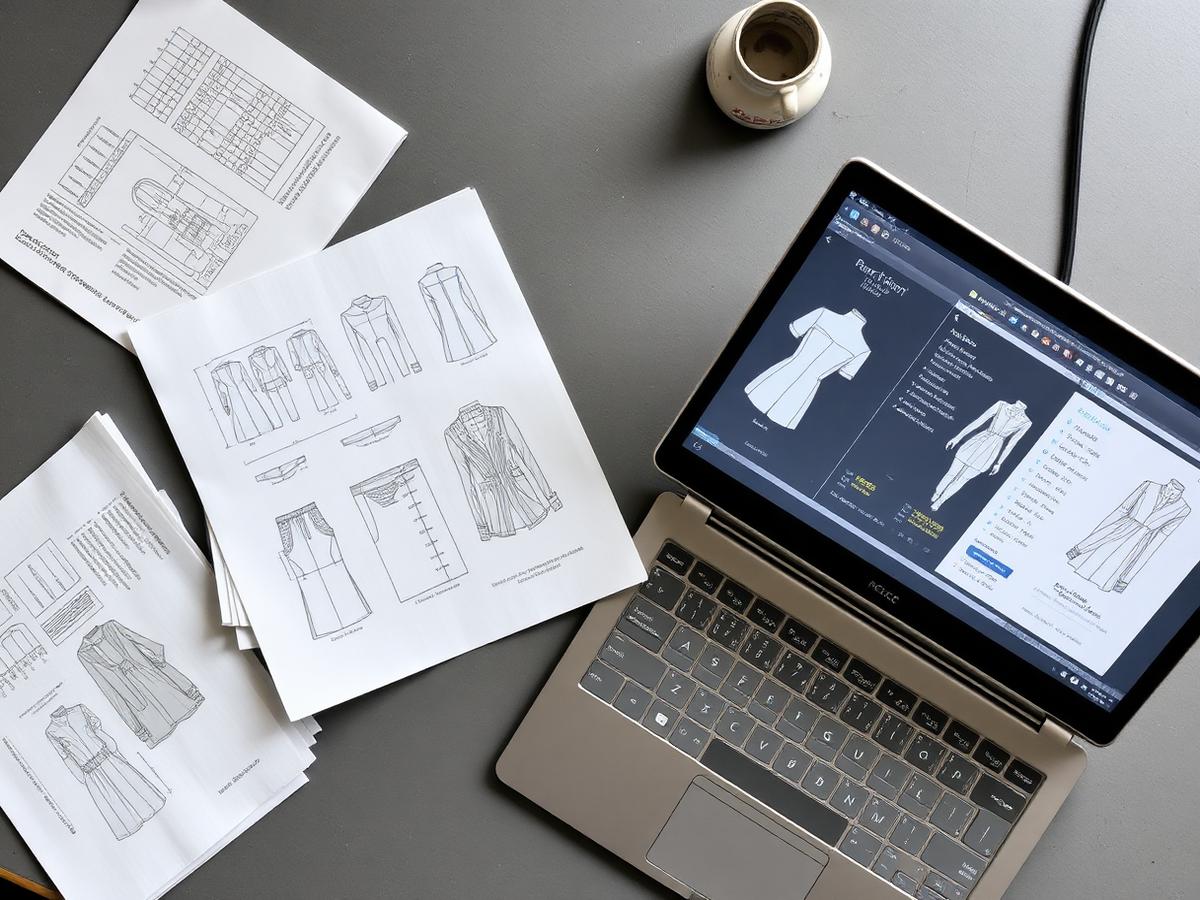
Process video
Slot reserved for the full walkthrough film — tech pack to approved sample. Drop the file in and it appears here.
Step 01
Intake and query list
You send the tech pack. We read POMs, construction notes and trim cards, then come back with a short query list — the same questions a good sampling room raises before cutting.
Step 02
Pattern digitising
Existing patterns are imported from DXF, or drafted to your block from the spec. Grading is applied so the sample is the size you actually review on.
Step 03
Fabric and trim setup
Physical properties — weight, bend, stretch, thickness — are set from your swatch data or measured references. Trims, zips, labels and hardware are modelled, not stickered on.
Step 04
Avatar and fit
The garment is simulated on an avatar matched to your fit block. Tension and fit maps show where it pulls, so pattern corrections happen before anything is cut.
Step 05
Render and output
Studio-lit stills, turntables, colourways and technical flats, output at the resolution your line sheets and buyer packs need.
Step 06
Revision rounds
Two rounds are included. Comments come back on the render, we turn corrections around in 24–48 hours depending on scope.
Step 07
Delivery and handover
Images, project files (ZPRJ/BW), OBJ or FBX and graded DXF, delivered in a structured folder with a naming convention you can drop straight into your PLM.
Turnaround
48 hours
First render on a straightforward style, from a complete tech pack.
3–5 days
Complex outerwear, tailoring or intimates with heavy trim work.
24–48 hours
Revision turnaround within an included round.